Dave Griessmann
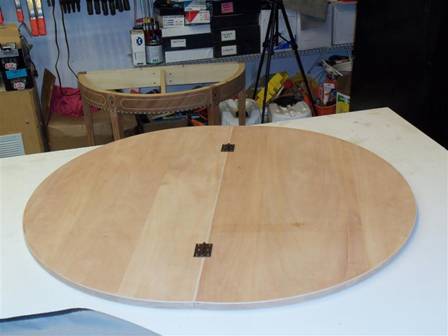
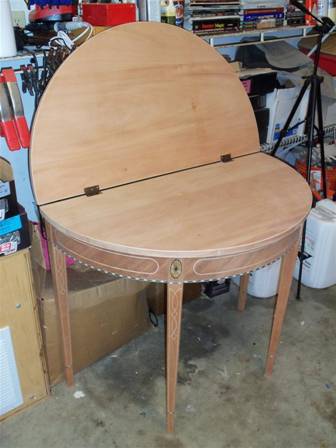
Currently I’m finishing up on a federal card table project. I am at a point where I need to make a decision on what to do with the hardware. After looking at a lot of photos of card tables, it seems that the tops were either hinged using traditional card table hinges or butt hinges.
Since this piece isn’t a commission, it will be a gift for my mother-in-law (Shhh, don’t tell!) & 99.99% of the time will be closed; I chose to go with butt hinges. The following is how I go about installing them.
After sanding the top, I butt the two pieces together like they would be if opened. I then place the hinges where I think they would look good & take a rough measurement.
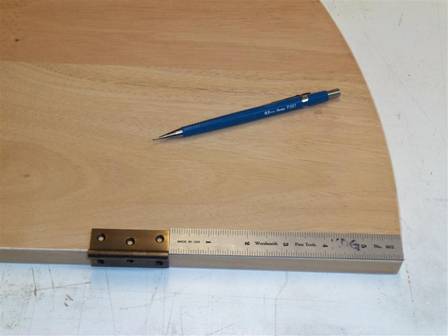
Working on one half of the table at a time, I open the hinge all the way & using a ruler I locate it’s placement from each side. Once placed, I trace around the face side of the hinge.
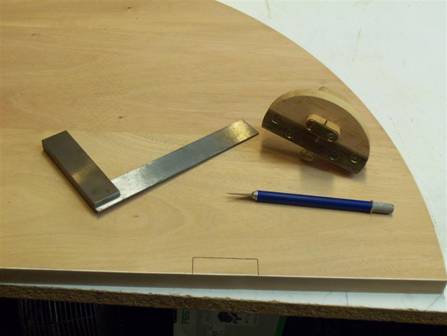
Grabbing a marking gauge(set to the outer mark from the table edge) I cut a groove in-between the hinge sides. Then, using a square & X-ACTO blade, I cut in my vertical lines.
Now that my removal area is defined, I load a 1/8” spiral bit into my trim router & set the depth of cut to the thickness of my hinge. I use my finger to feel if it’s flush. (You can also use scrap blocks as a guide.)
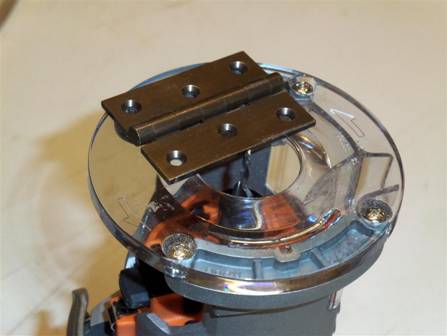
With the depth set, I put on a pair of safety glasses, plug in the router, and proceed to cut out the waste. At this point I’m cutting close to the lines I scribed in but I’m basically using the router to remove the bulk of the waste.

From here I use a sharp chisel to pear the remaining waste to my lines & then test file the hinge.
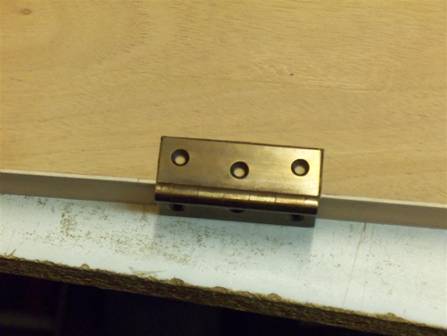
Once I have completed the removal of waste for both hinges on both halves of the table, I mark & drill pilot holes for the screw locations. Then, after sticking the ends of the screws in paste wax, I carefully attach the hardware (Making sure to feel how the screw is going in so I don’t twist the top off.).
At this point, all that is left for me to do is some final sanding, apply the sealer/finish, & deliver it.

